When I came to open up my most recent Maya project, I found (to my own frustration) that my skeleton scene hadn't saved at all. Anywhere. So before moving on I had to re-do the skeleton of my model. Although I'm annoyed that it didn't save, it has made me think about where I'm saving my work and I have backed up everything I have to date to avoid this situation again and I'm grateful it was only a small, simple part of the process that I lost.
Moving on...
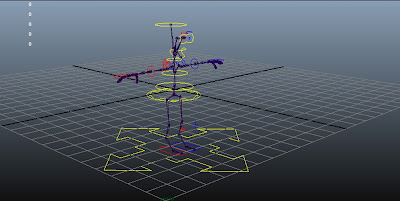
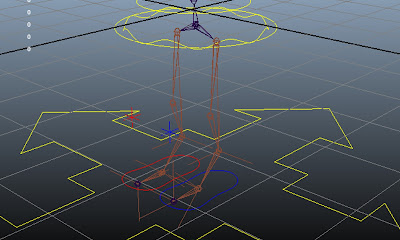
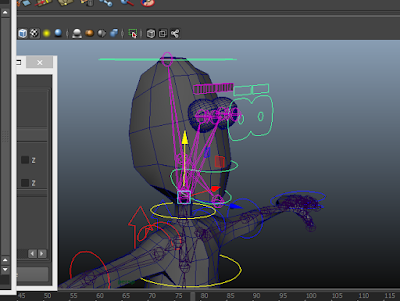
The next part of the rigging process was pretty straight forward and I had no problems with it whatsoever, in fact it was a nice change from some of the more complex stuff that we've been doing recently. It was smooth sailing all the way up to until I had to orient the controllers, in particular the hand controller. I was really struggling with getting the hand controller to orient to the local transformers of the joint. This was because I was trying to orient the null group to the hand controller first, instead of orienting it to the joint. It was a simple mistake that was difficult to spot at first, so I struggled with this for a while, but I learnt my lesson and didn't make the same mistake again and was able to orient the rest of the controllers with no problem.
 |
| Shaping and Placing Controls |
 |
| IK Handles |
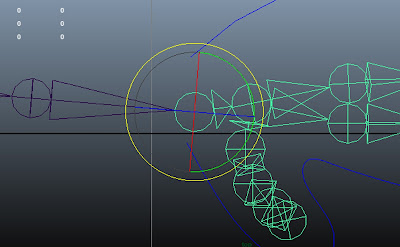 |
Orienting Joints
|
The next few stages went quite well, I didn't run into any problems and I picked up what I was supposed to be doing fairly quickly, as the tasks were quite repetitive and it wasn't until I reached the weight painting that I found the task a little confusing, as parts of the model were becoming influenced by other parts after I had altered them. However, this was due to the program wanting all parts of the model to be influenced and once I had made sure that each part of the mesh was influenced by a joint, I no longer encountered this problem.
 |
| Connecting Controllers |
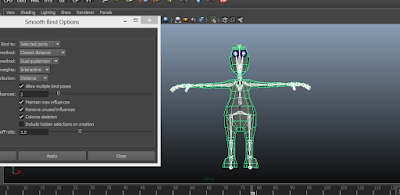 |
| Binding |
 |
| SDK |
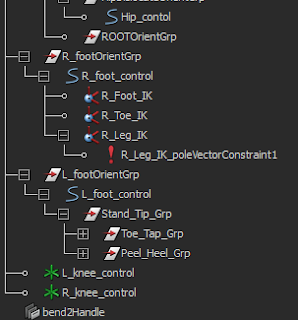 |
| Reverse Foot Setup |
 |
| Reverse Foot Setup |
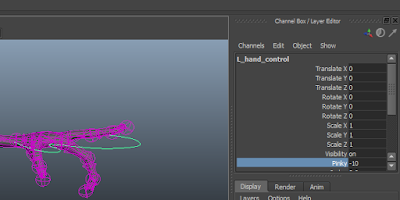
I did struggle with the reverse foot set up, however I was also very tired and I became impatient and made many little mistakes that were my own fault. I was also having technical difficulties at the time and kept forgetting to save. Other than making silly little mistakes I feel I did relatively well for my first time making a 3D model, even if I have garbage values in a lot of my controllers (oops).
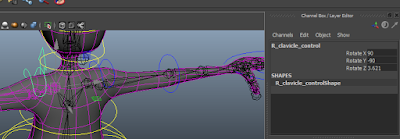 |
| Garbage Values |
On top of this, everything works fine except the eyebrows don't scale like the rest of the body, and I haven't been able to fix it no matter what I do, nor do I have time to go back and seek Mat's help. I could've taken a lot more care and time on this model if I had wanted to, however I was becoming frustrated with the whole process of rigging the character and so I struggled to stay motivated and to pay attention to what I was supposed to do.